HP21 : Lumineuse Place Guérin : Différence entre versions
| (3 révisions intermédiaires par le même utilisateur non affichées) | |||
| Ligne 56 : | Ligne 56 : | ||
} | } | ||
pixels.show(); | pixels.show(); | ||
| + | } | ||
| + | |||
| + | |||
| + | Code avec commentaires : | ||
| + | |||
| + | |||
| + | // NeoPixel Ring simple sketch (c) 2013 Shae Erisson | ||
| + | // Released under the GPLv3 license to match the rest of the | ||
| + | // Adafruit NeoPixel library | ||
| + | #include <Adafruit_NeoPixel.h> | ||
| + | // Which pin on the Arduino is connected to the NeoPixels? | ||
| + | #define PIN 0 // On Trinket or Gemma, suggest changing this to 1 | ||
| + | // How many NeoPixels are attached to the Arduino? | ||
| + | #define NUMPIXELS 29 // Popular NeoPixel ring size | ||
| + | // When setting up the NeoPixel library, we tell it how many pixels, | ||
| + | // and which pin to use to send signals. Note that for older NeoPixel | ||
| + | // strips you might need to change the third parameter -- see the | ||
| + | // strandtest example for more information on possible values. | ||
| + | Adafruit_NeoPixel pixels(NUMPIXELS, PIN, NEO_GRB + NEO_KHZ800); | ||
| + | #define DELAYVAL 500 // Time (in milliseconds) to pause between pixels | ||
| + | void setup() { | ||
| + | pixels.begin(); // INITIALIZE NeoPixel strip object (REQUIRED) | ||
| + | pixels.setBrightness(255); | ||
| + | } | ||
| + | void loop() { | ||
| + | for(int i=0; i<NUMPIXELS; i++) { //boucle qui va de i=0 à i=29 | ||
| + | pixels.setPixelColor(i, pixels.Color(150, 0, 0)); //chaque led de 0 à 29 est fixé à la couleur indiquée) | ||
| + | } | ||
| + | pixels.show(); // Send the updated pixel colors to the hardware. | ||
} | } | ||
| Ligne 64 : | Ligne 93 : | ||
[[Fichier:La bonne vue place guerin.png|700px]] | [[Fichier:La bonne vue place guerin.png|700px]] | ||
| − | |||
| − | |||
[[Fichier:Schema eclairage.jpeg|700px]] | [[Fichier:Schema eclairage.jpeg|700px]] | ||
| Ligne 71 : | Ligne 98 : | ||
==second diaporama : Construction du prototype== | ==second diaporama : Construction du prototype== | ||
| + | |||
| + | - Une pile artisanale a été conçue avec du fil, de l'aluminium, du cuivre, des pinces crocos et des LEDs | ||
| + | |||
| + | [[Fichier:Pile artisanale.jpeg|700px]] | ||
| + | |||
| + | |||
| + | - La torche LED est la réalisation principale, comprenant la bande LED programmée comme montré précédemment (composant de type arduino), le tout inséré dans du matériel de récupération en plastique et connecté à une batterie | ||
| + | |||
| + | [[Fichier:Torche de LED.jpeg|700px]] | ||
| + | |||
| + | |||
| + | - Une application de "Light-Painting" | ||
| + | |||
| + | https://play.google.com/store/apps/details?id=com.ready4s.lightpainting2&hl=fr&gl=US | ||
| + | |||
| + | |||
| + | [[Fichier:Light Application.png|700px]] | ||
| + | |||
| + | |||
| + | |||
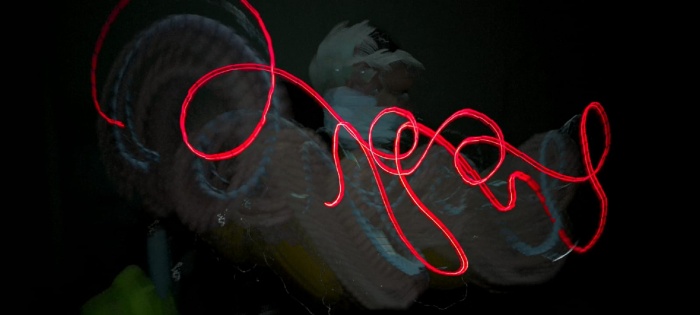
| + | - Des tests ont été faits pour le Light-painting | ||
| + | |||
| + | [[Fichier:Light Paint violet 1.jpg|700px]] | ||
| + | |||
| + | [[Fichier:Light Paint rouge.jpg|700px]] | ||
| + | |||
| + | |||
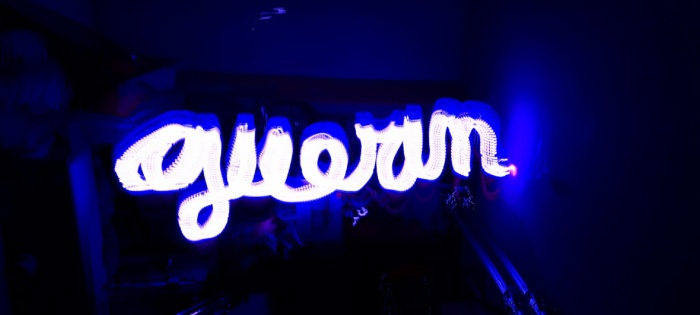
| + | - Certains plus concluants | ||
| + | |||
| + | [[Fichier:Guerin light.jpg|700px]] | ||
| + | |||
[[Catégorie:HP21 Lumière]] | [[Catégorie:HP21 Lumière]] | ||
[[Catégorie:Hackathon Pédagogique]] | [[Catégorie:Hackathon Pédagogique]] | ||
Version actuelle datée du 7 décembre 2021 à 16:58
Sommaire
résumé du projet
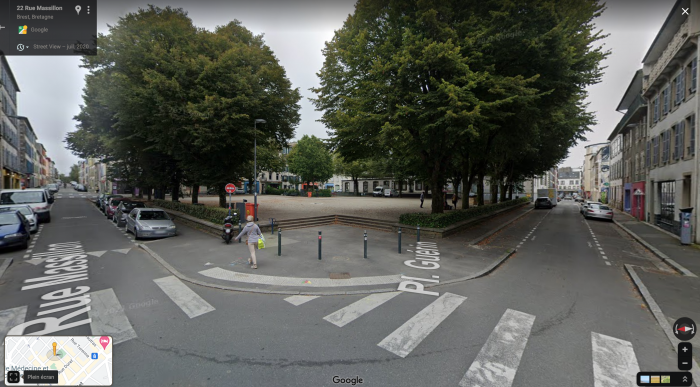
La place Guérin est un lieu emblématique de Brest. Endroit festif, récemment piéton, elle est un lieu de cohabitation entre son école, sa bibliothèque, des bars et cafés fréquentés autant par la petite bourgeoisie que par la communauté alternative et prolétarienne de Brest. En plus de cela, le centre sert de lieu de rencontre et de consommation d'alcool. Illustrant cette situation complexe, le lieu baptisé "L'Avenir" est une construction autogérée et érigée par les habitants en protestation au projet immobilier qui devait voir le jour à cet endroit.
Notre idée générale est de permettre aux élèves de l'école et à ceux fréquentant le centre aéré de faire valoir leur place dans l'espace public. En effet l'école est en ce moment uniquement indiquée par un (très discret) écriteau à son entrée.
Ceci en faisant du light-painting depuis un point de vue plongeant sur l'ensemble de la place Guérin et en produisant des portraits "light-painting" des élèves. Nous devons donc fabriquer des prototypes de bâtons LED avant de les tester en action.
La Fabrication des bâtons LED fera partie intégrante de l'activité pédagogique. Ceci en incluant les élèves. Plusieurs modalités sont possibles.
- Un composant LED fabriqué avec les "moyens du bord", y compris la batterie (sui sera faite avec du vinaigre et une pile. ;
- Un bâton LED fabriqué en tout numérique sans programmation ;
- Un bâton LED fabriqué en tout numérique avec programmation.
membres du projet
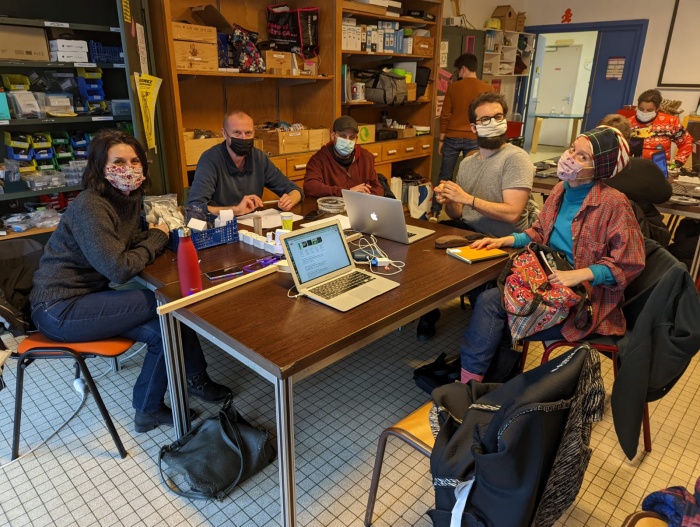
- Deux personnes travaillant dans des associations ; - Une personne du milieu médical souhaitant monter un Fablab ; - Une personne travaillant à la Métropole ; - Une personne travaillant à l'Université.
prototype qu'on souhaite réaliser
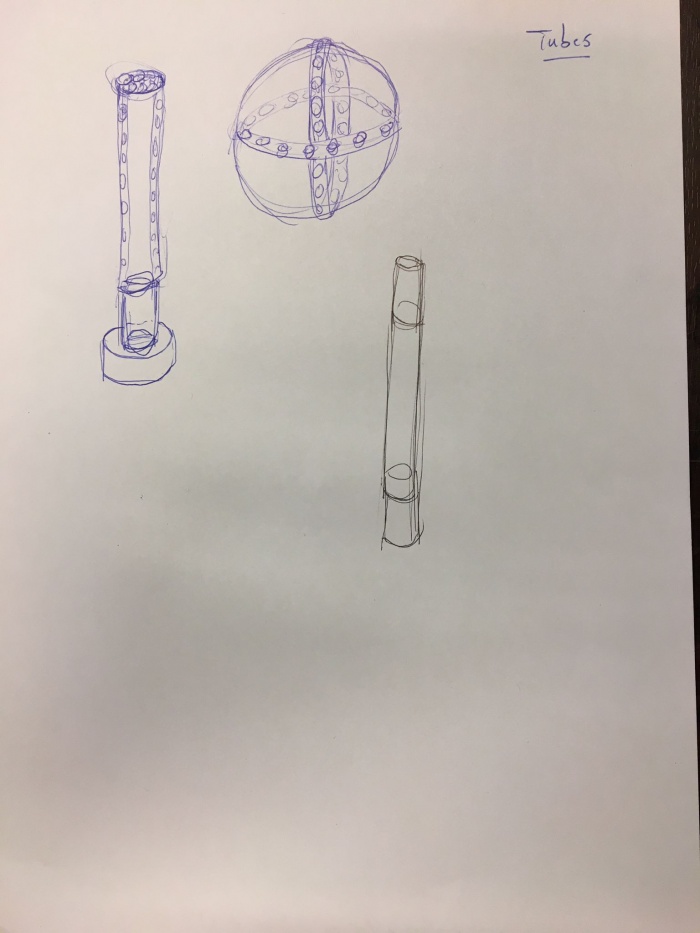
Une barre LED insérée dans un tube transparent. Afin que les enfants puissent le manipuler et faire du Light-painting avec.
Une bande LED dans un tube avec un arduino programmé de manière minimale :
http://wikidebrouillard.org/wiki/Item:Ruban_de_Led_-_WS2812B
Le code utilisé finalement :
 #include <Adafruit_NeoPixel.h>
 #define PIN 0
 #define NUMPIXELS 29
 Adafruit_NeoPixel pixels(NUMPIXELS, PIN, NEO_GRB + NEO_KHZ800);
 #define DELAYVAL 500
 void setup() {
   pixels.begin();
   pixels.setBrightness(150);
 }
 void loop() {
   for(int i=0; i<NUMPIXELS; i++) {
     pixels.setPixelColor(i, pixels.Color(255, 0, 255));
   }
       pixels.show();
 }
Code avec commentaires :
 // NeoPixel Ring simple sketch (c) 2013 Shae Erisson
 // Released under the GPLv3 license to match the rest of the
 // Adafruit NeoPixel library
 #include <Adafruit_NeoPixel.h>
 // Which pin on the Arduino is connected to the NeoPixels?
 #define PIN 0 // On Trinket or Gemma, suggest changing this to 1
 // How many NeoPixels are attached to the Arduino?
 #define NUMPIXELS 29 // Popular NeoPixel ring size
 // When setting up the NeoPixel library, we tell it how many pixels,
 // and which pin to use to send signals. Note that for older NeoPixel
 // strips you might need to change the third parameter -- see the
 // strandtest example for more information on possible values.
 Adafruit_NeoPixel pixels(NUMPIXELS, PIN, NEO_GRB + NEO_KHZ800);
 #define DELAYVAL 500 // Time (in milliseconds) to pause between pixels
 void setup() {
   pixels.begin(); // INITIALIZE NeoPixel strip object (REQUIRED)
   pixels.setBrightness(255);
 }
 void loop() {
   for(int i=0; i<NUMPIXELS; i++) { //boucle qui va de i=0 à i=29
     pixels.setPixelColor(i, pixels.Color(150, 0, 0)); //chaque led de 0 à 29 est fixé à la couleur indiquée)
   }
       pixels.show();   // Send the updated pixel colors to the hardware.
 }
premier diaporama : Conception du projet général
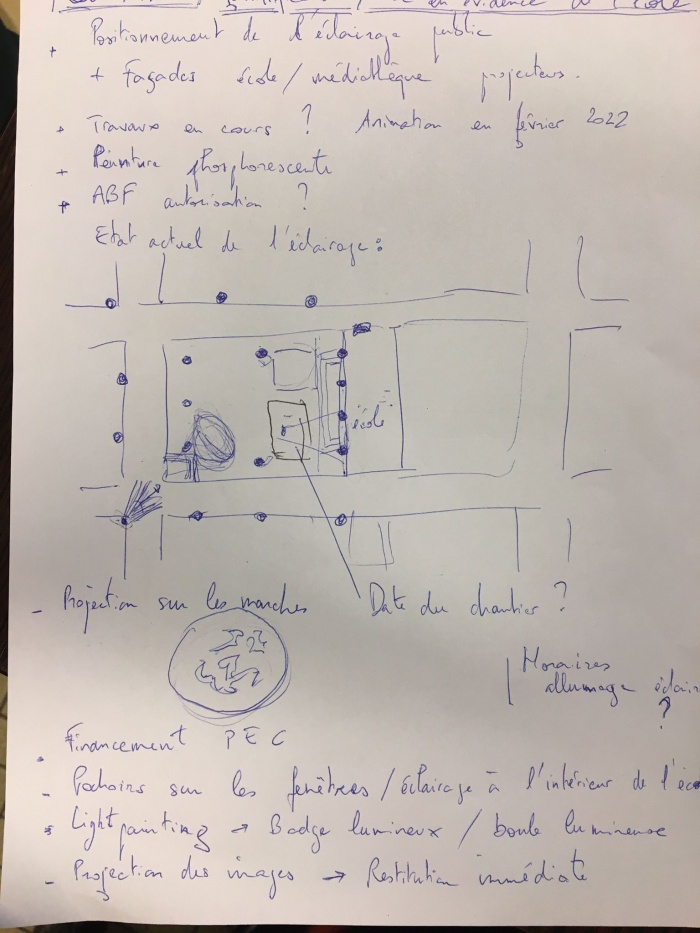
Réflexion sur le point de vue afin de faire un light-painting général et sur le réseau d'éclairage attenant.
second diaporama : Construction du prototype
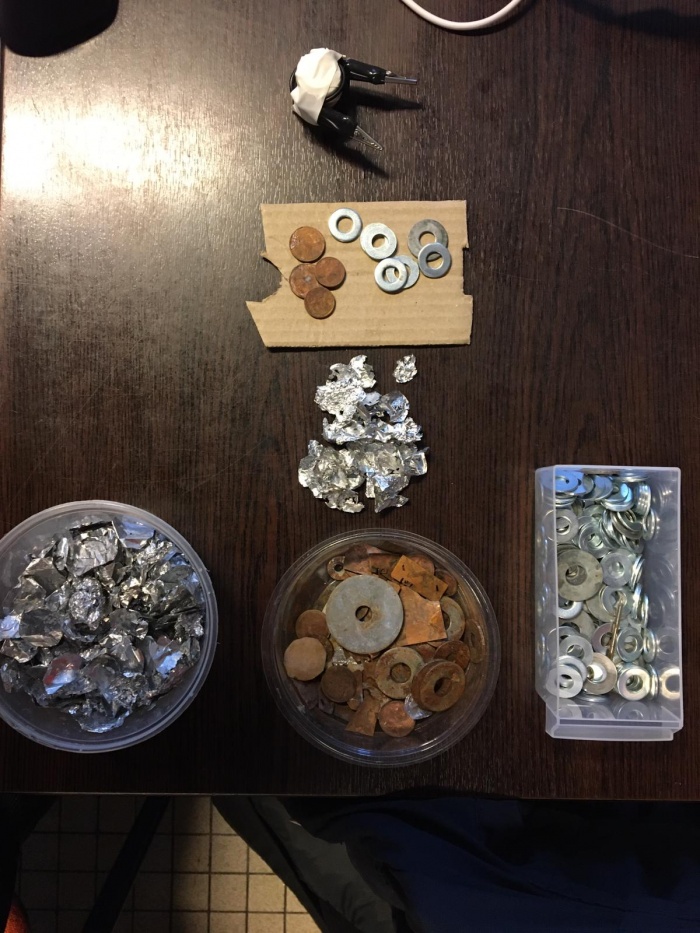
- Une pile artisanale a été conçue avec du fil, de l'aluminium, du cuivre, des pinces crocos et des LEDs
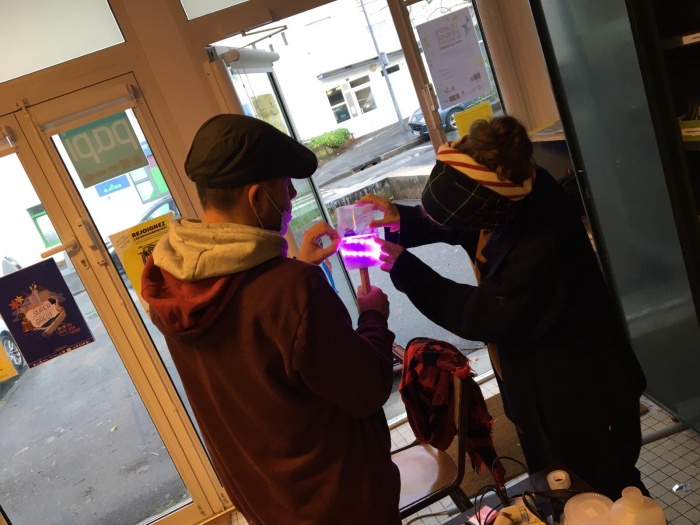
- La torche LED est la réalisation principale, comprenant la bande LED programmée comme montré précédemment (composant de type arduino), le tout inséré dans du matériel de récupération en plastique et connecté à une batterie
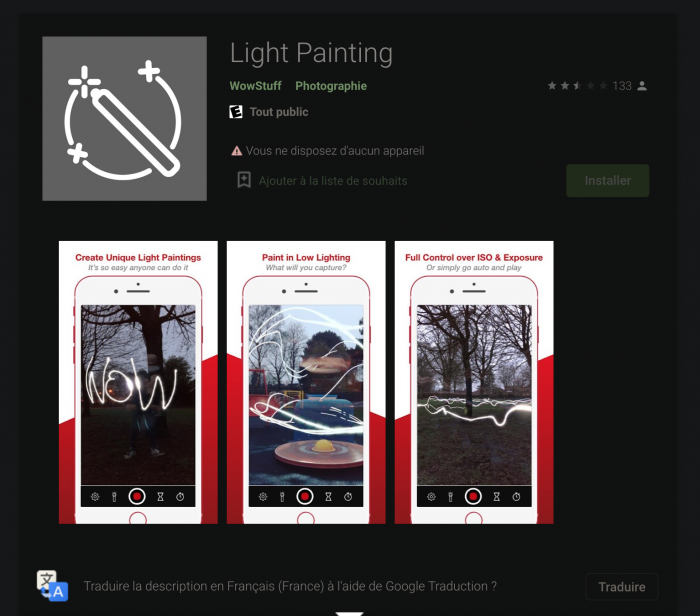
- Une application de "Light-Painting"
https://play.google.com/store/apps/details?id=com.ready4s.lightpainting2&hl=fr&gl=US
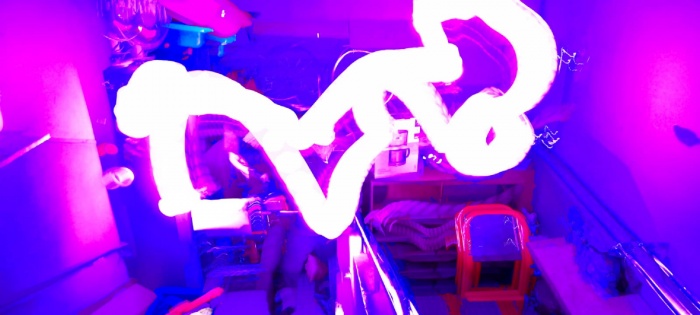
- Des tests ont été faits pour le Light-painting
- Certains plus concluants


